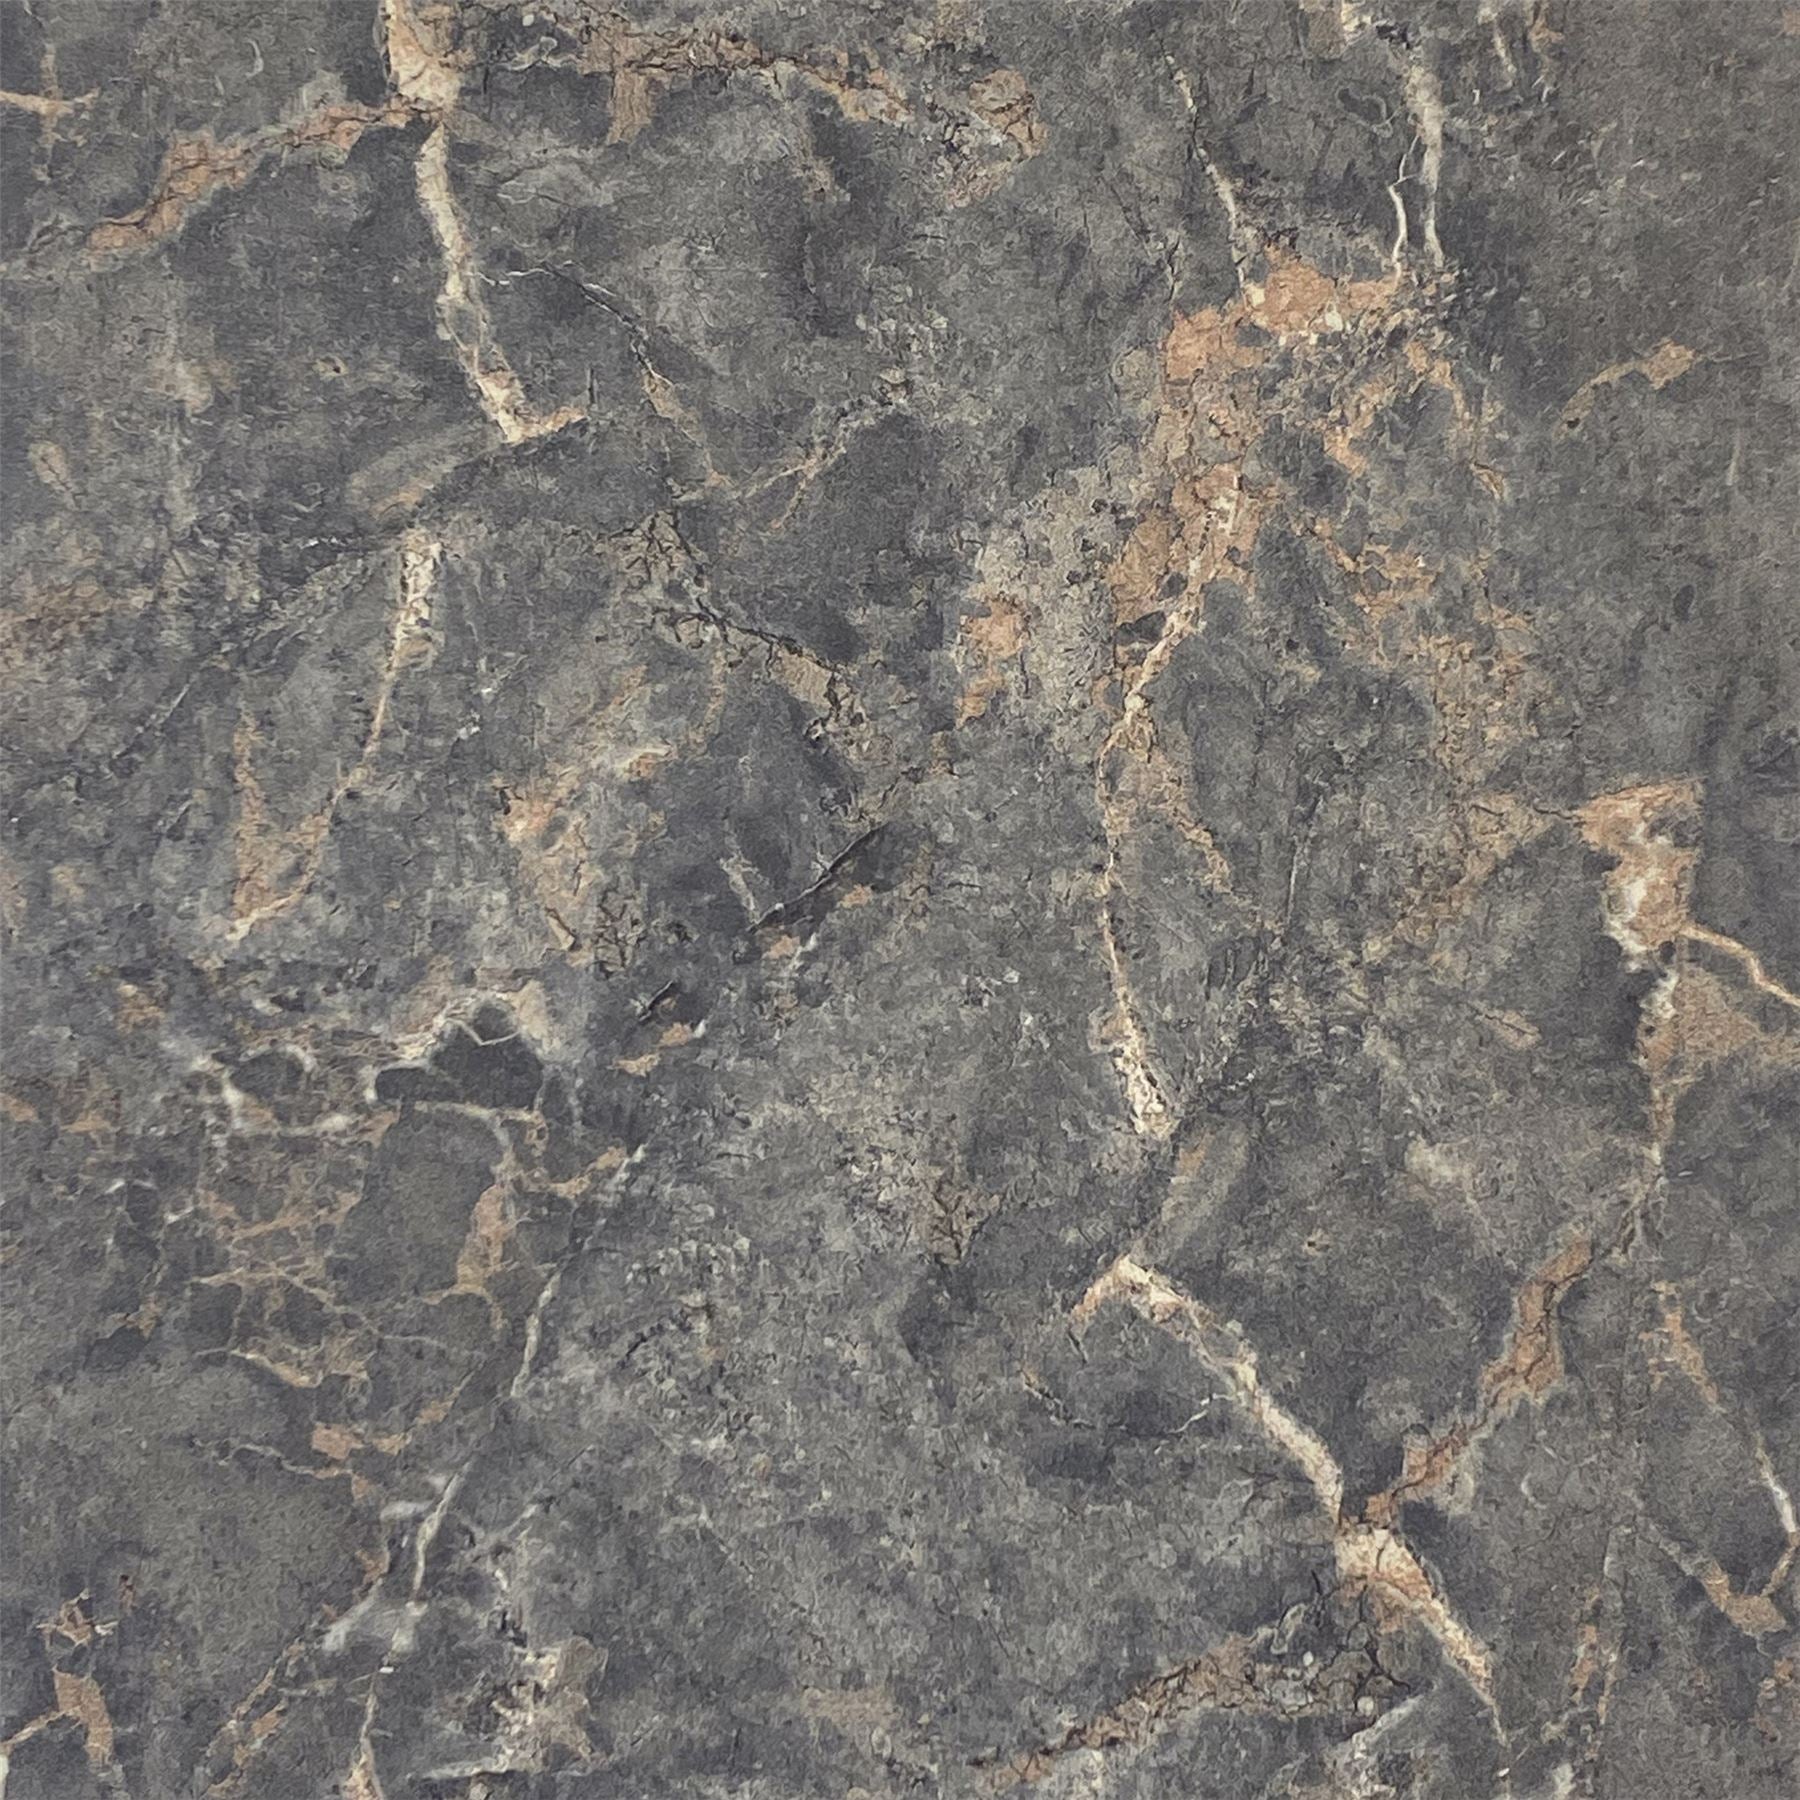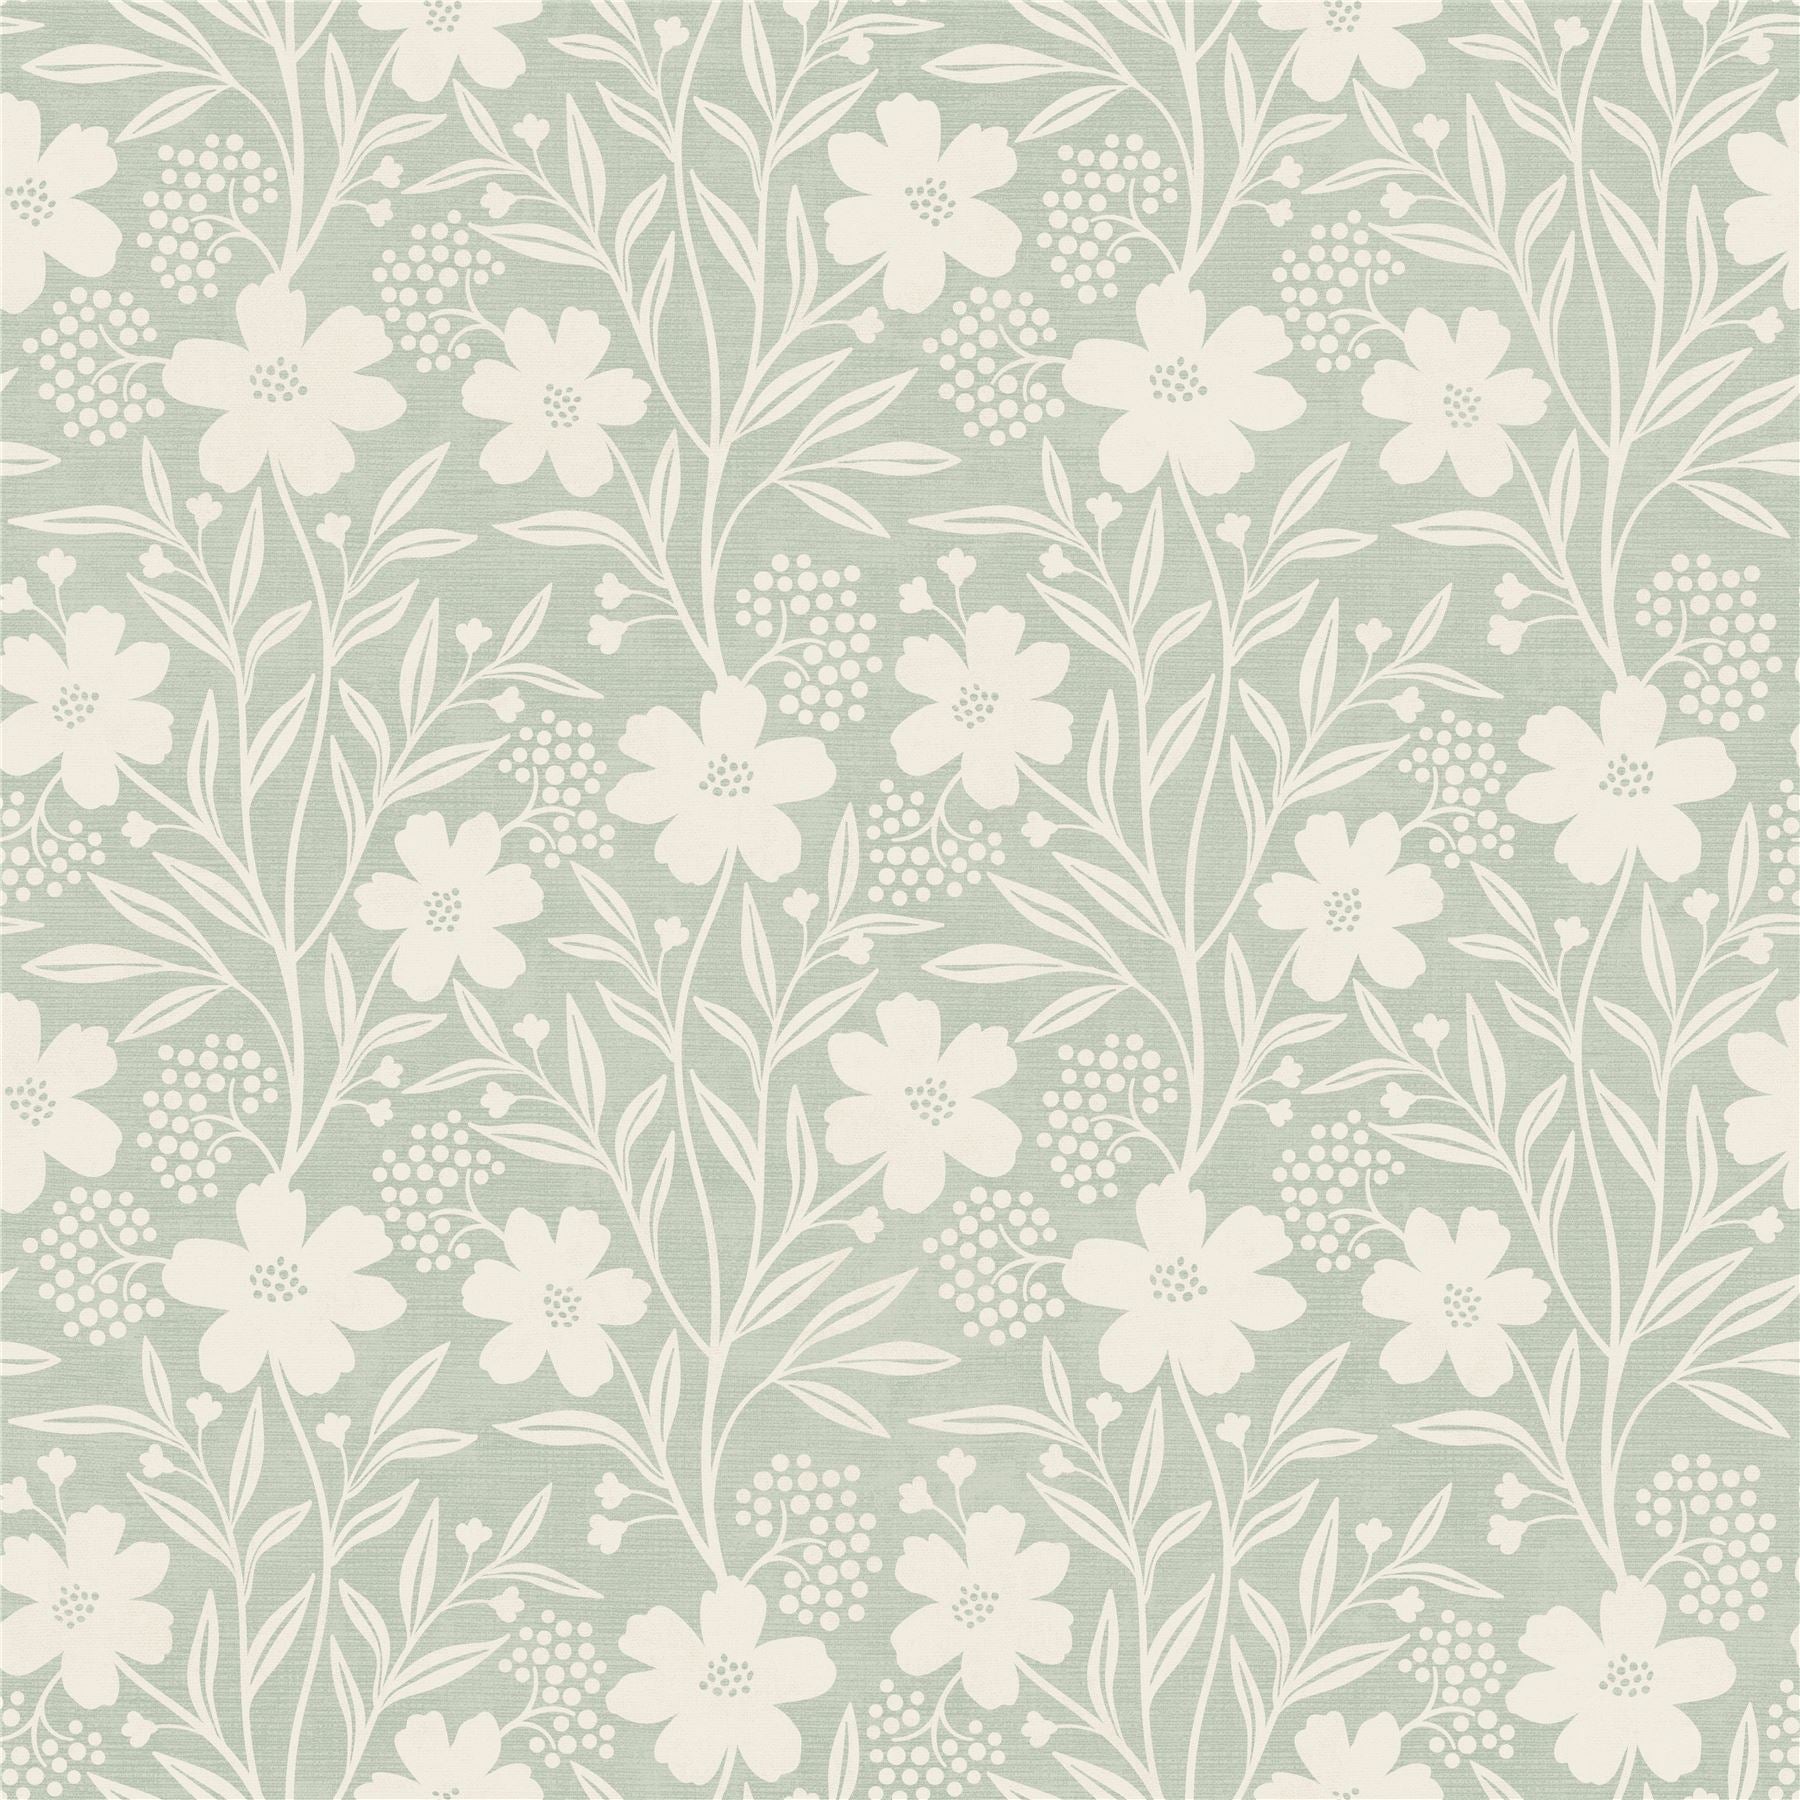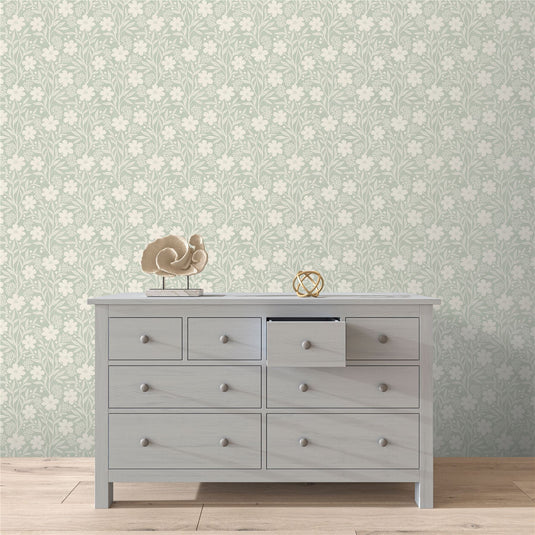
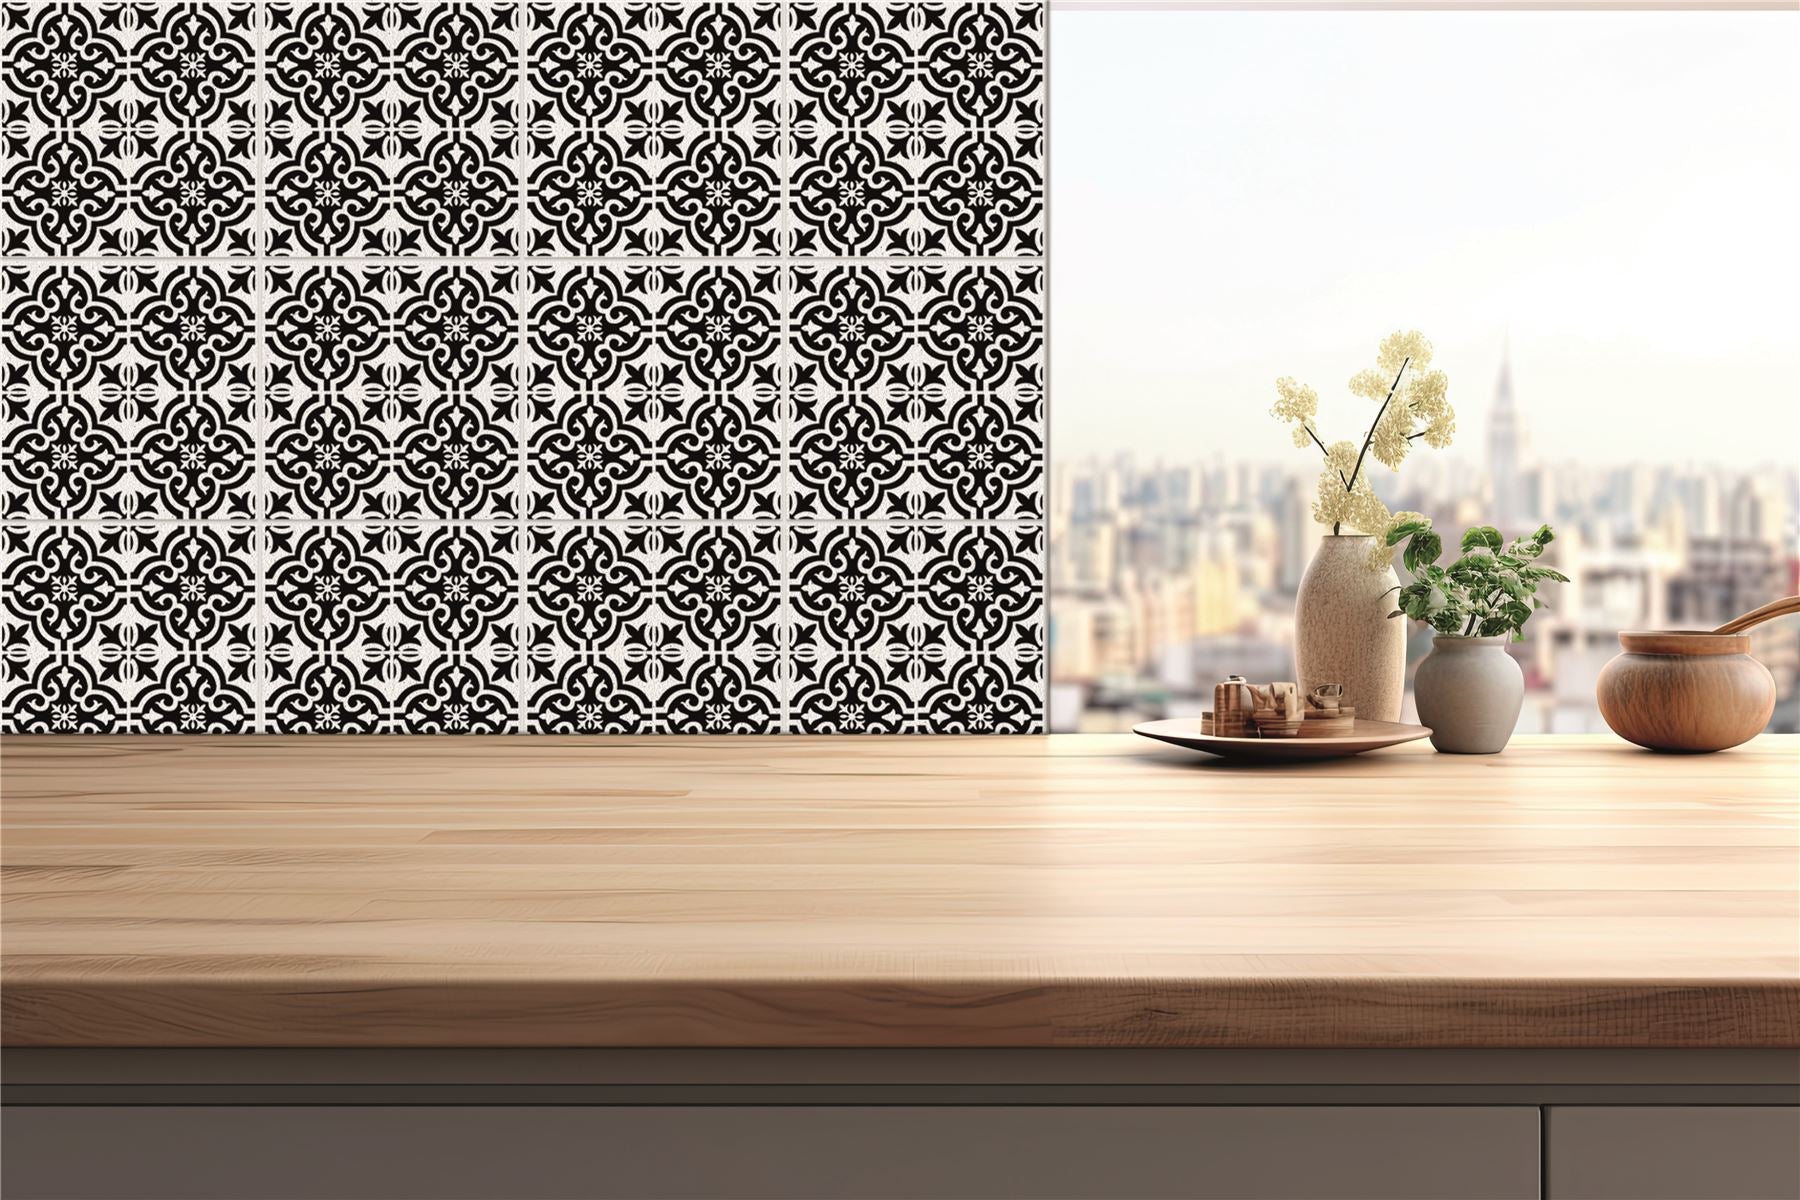
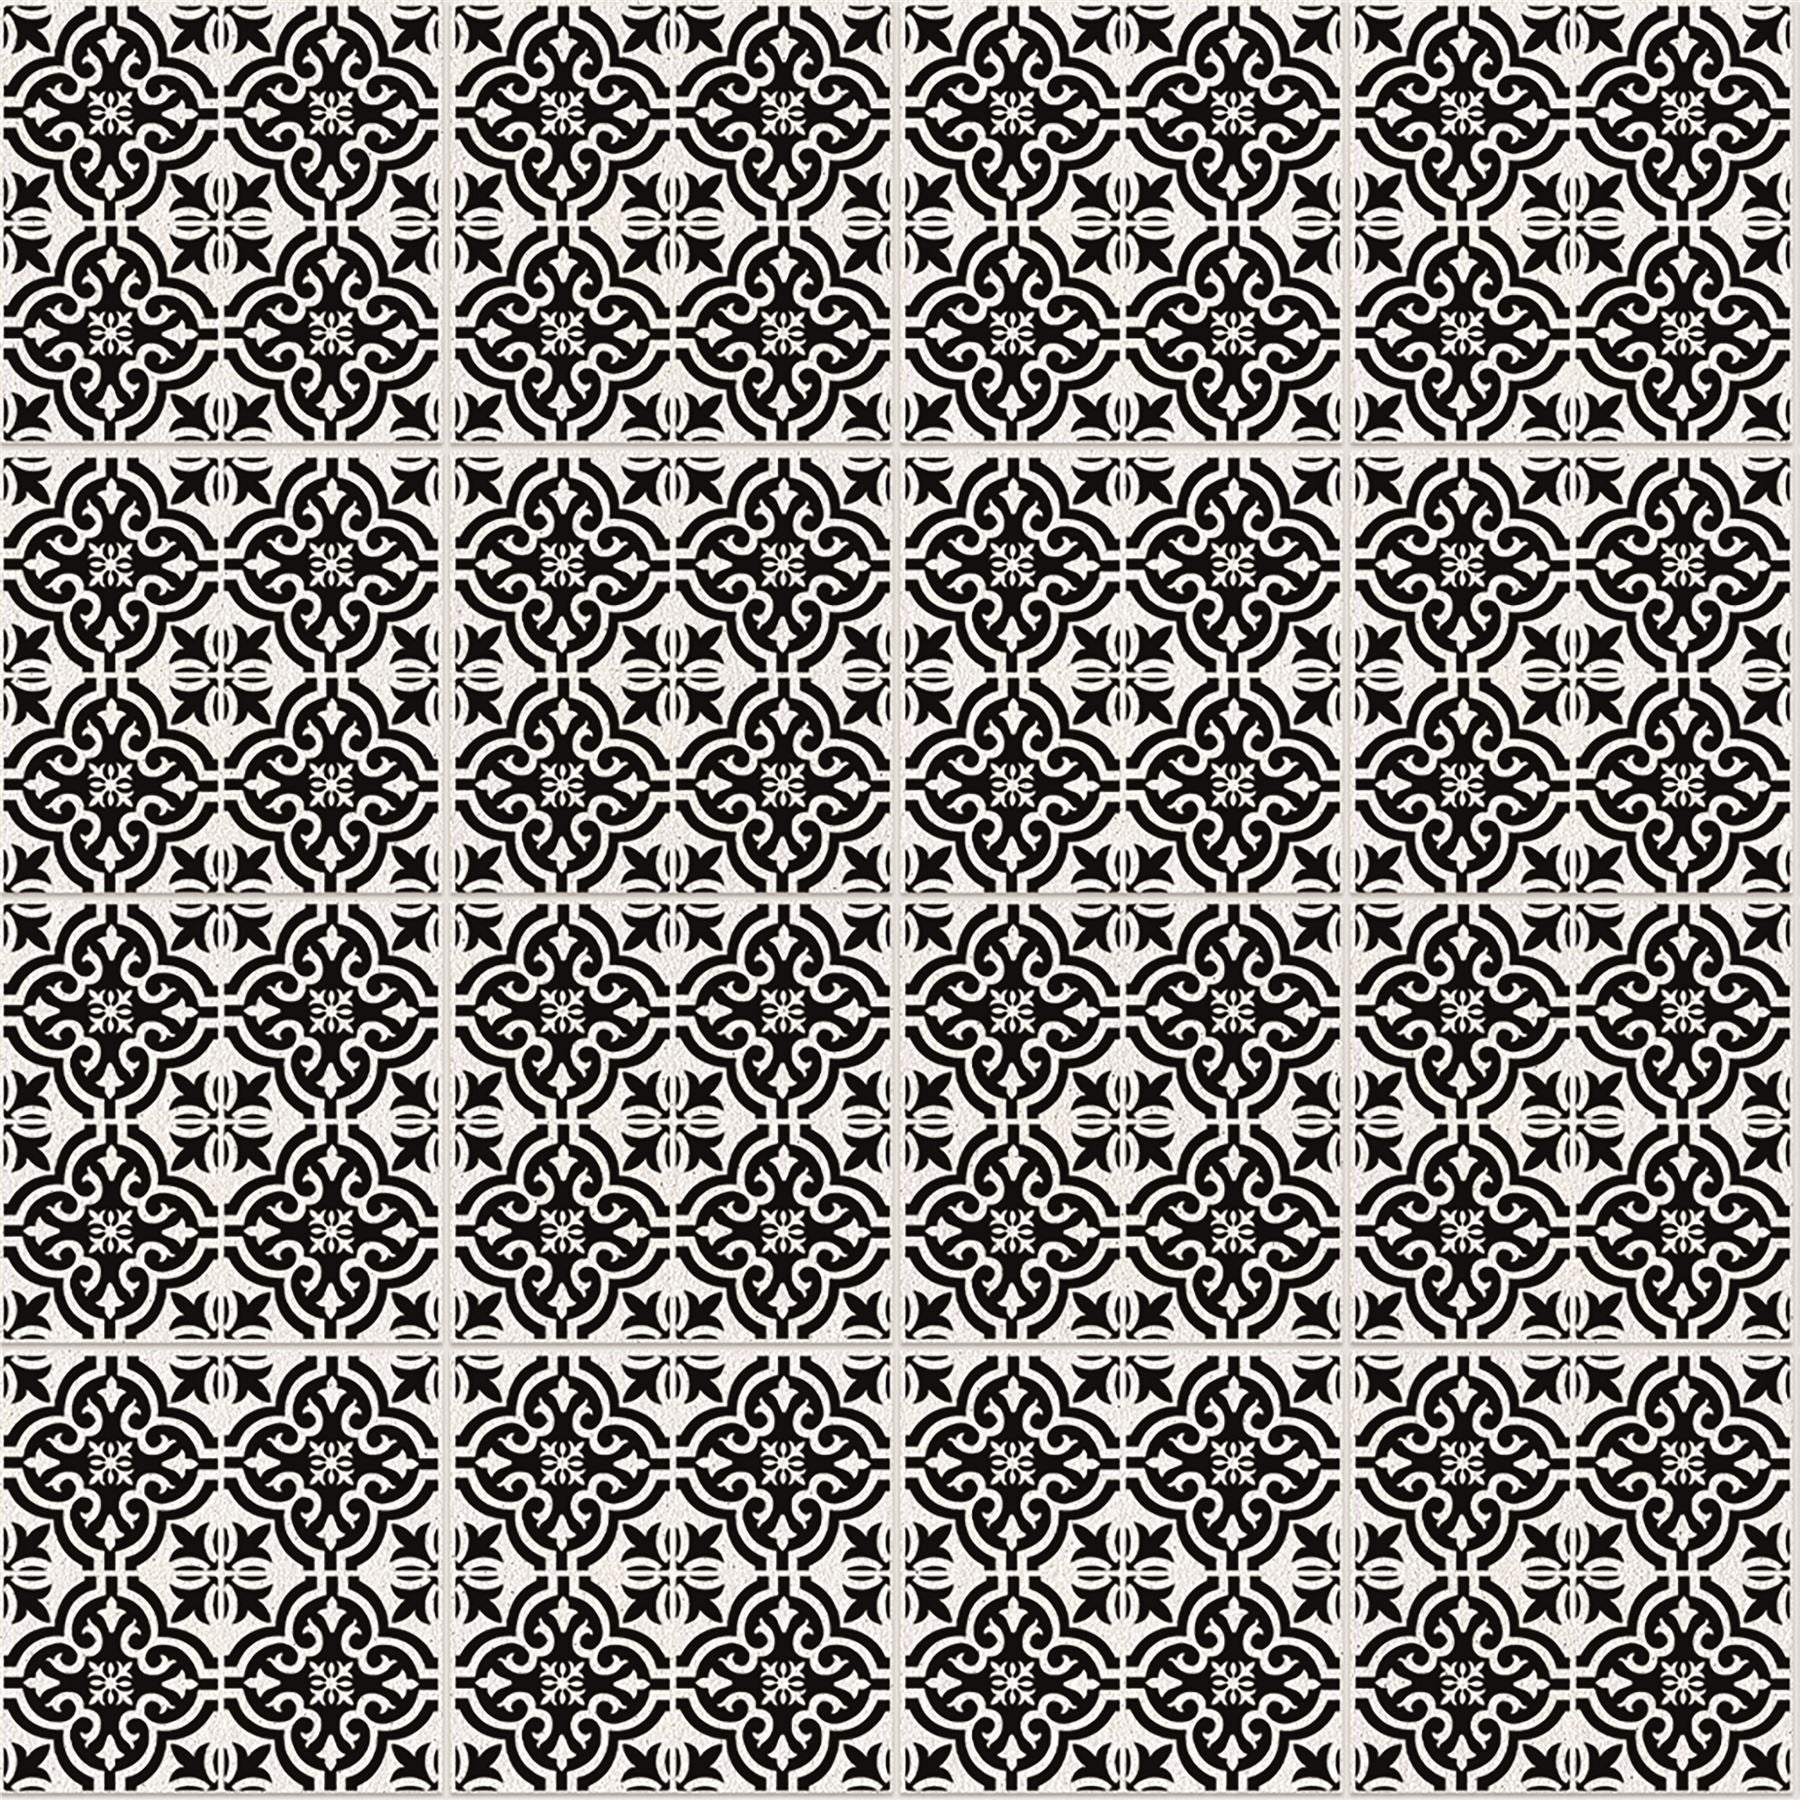
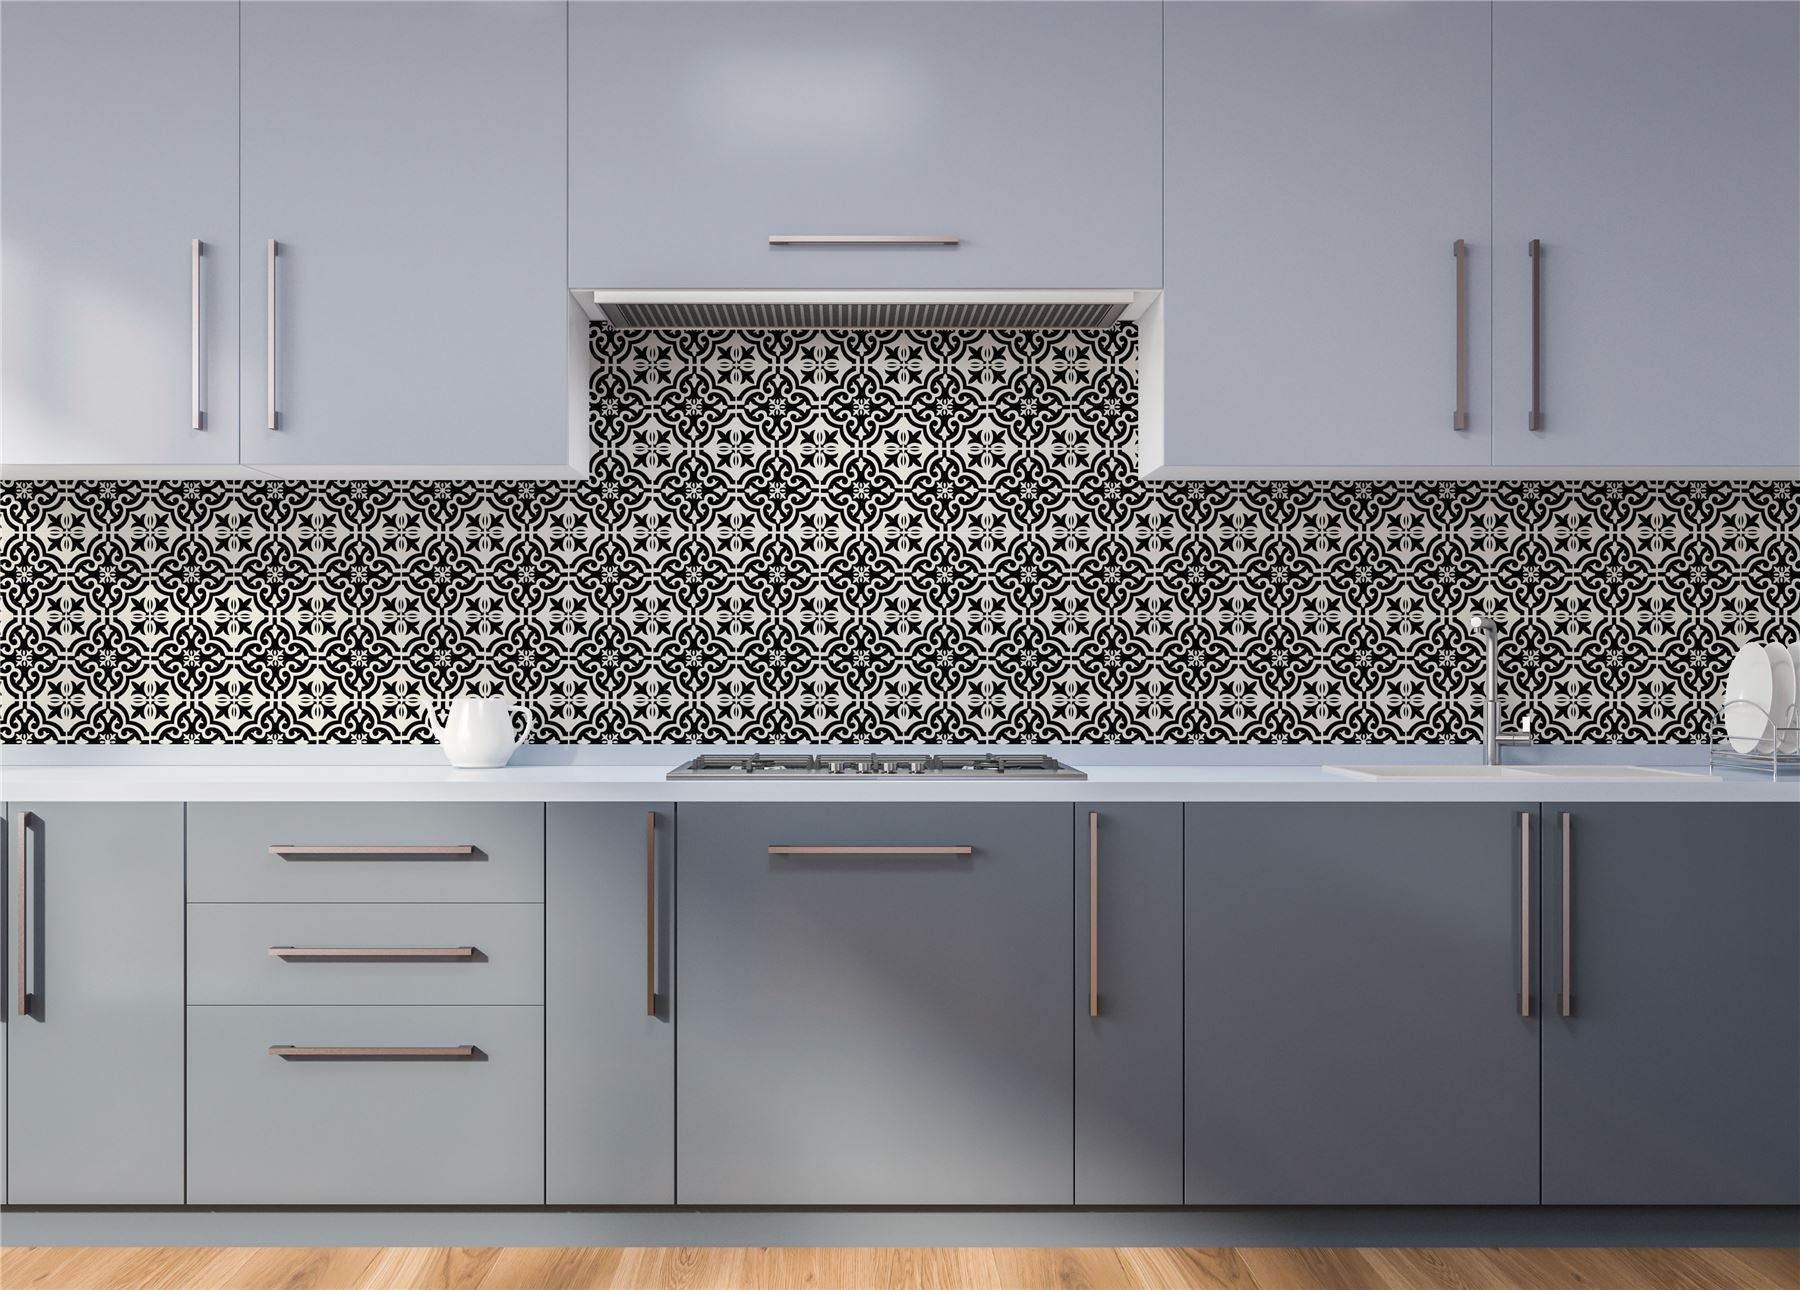
Wall Tile Motif 30.5x30.5cm Black (5 Tiles Per Pack)

SKU: 006039
In stock
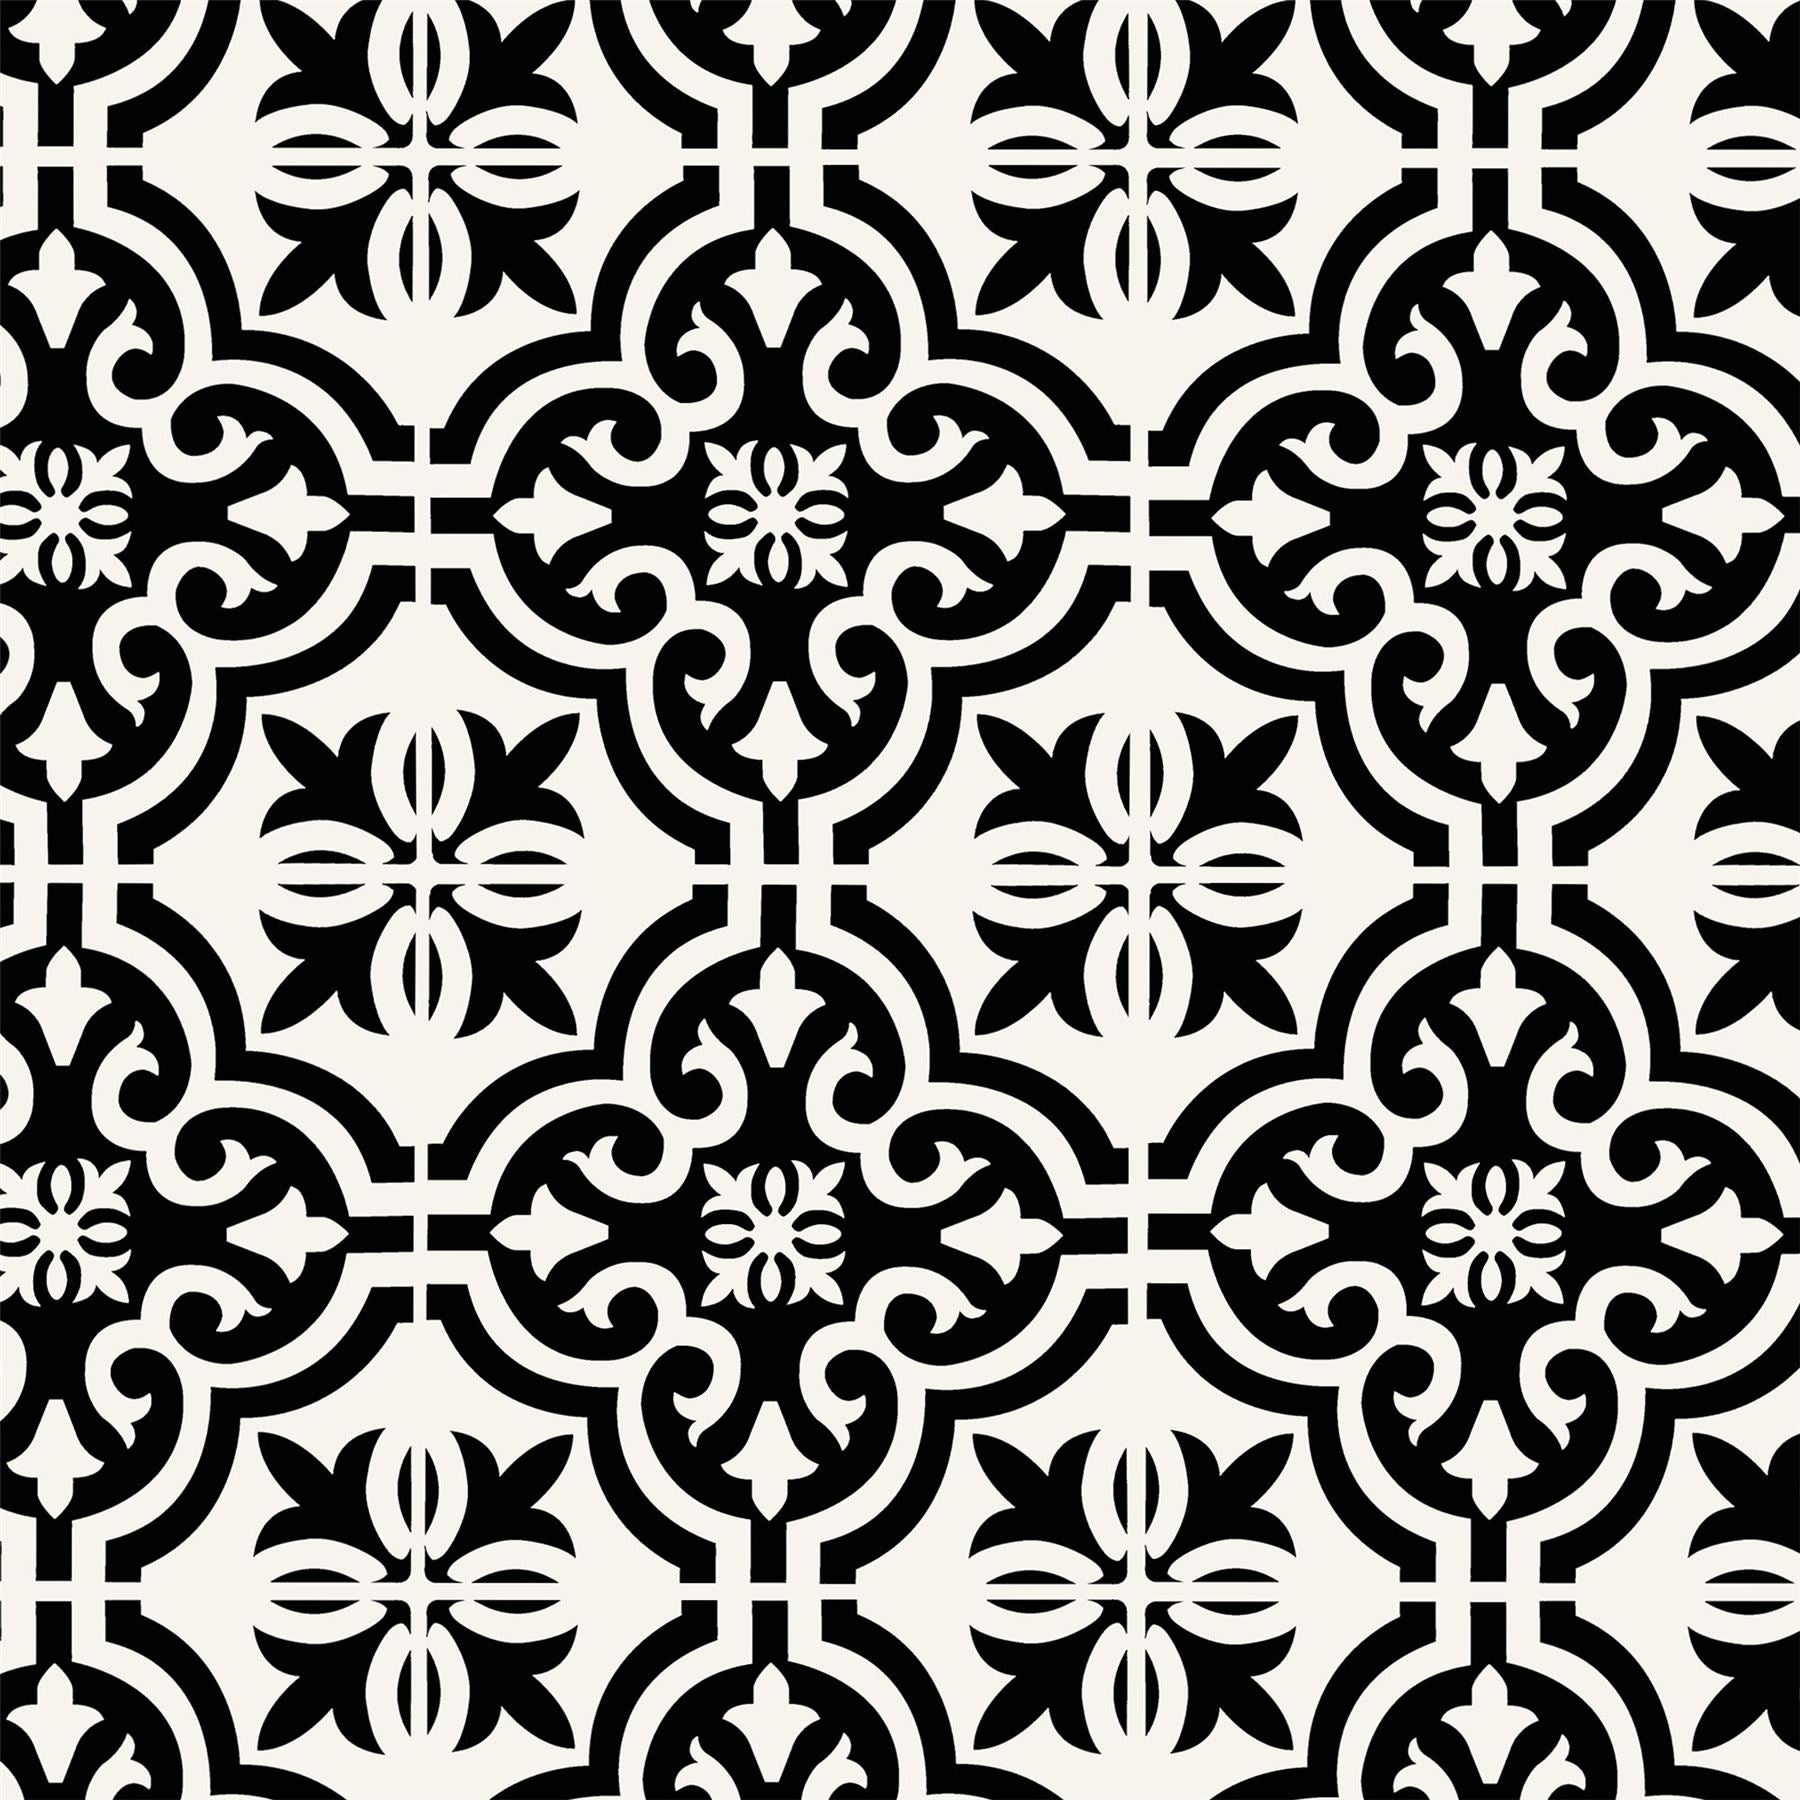
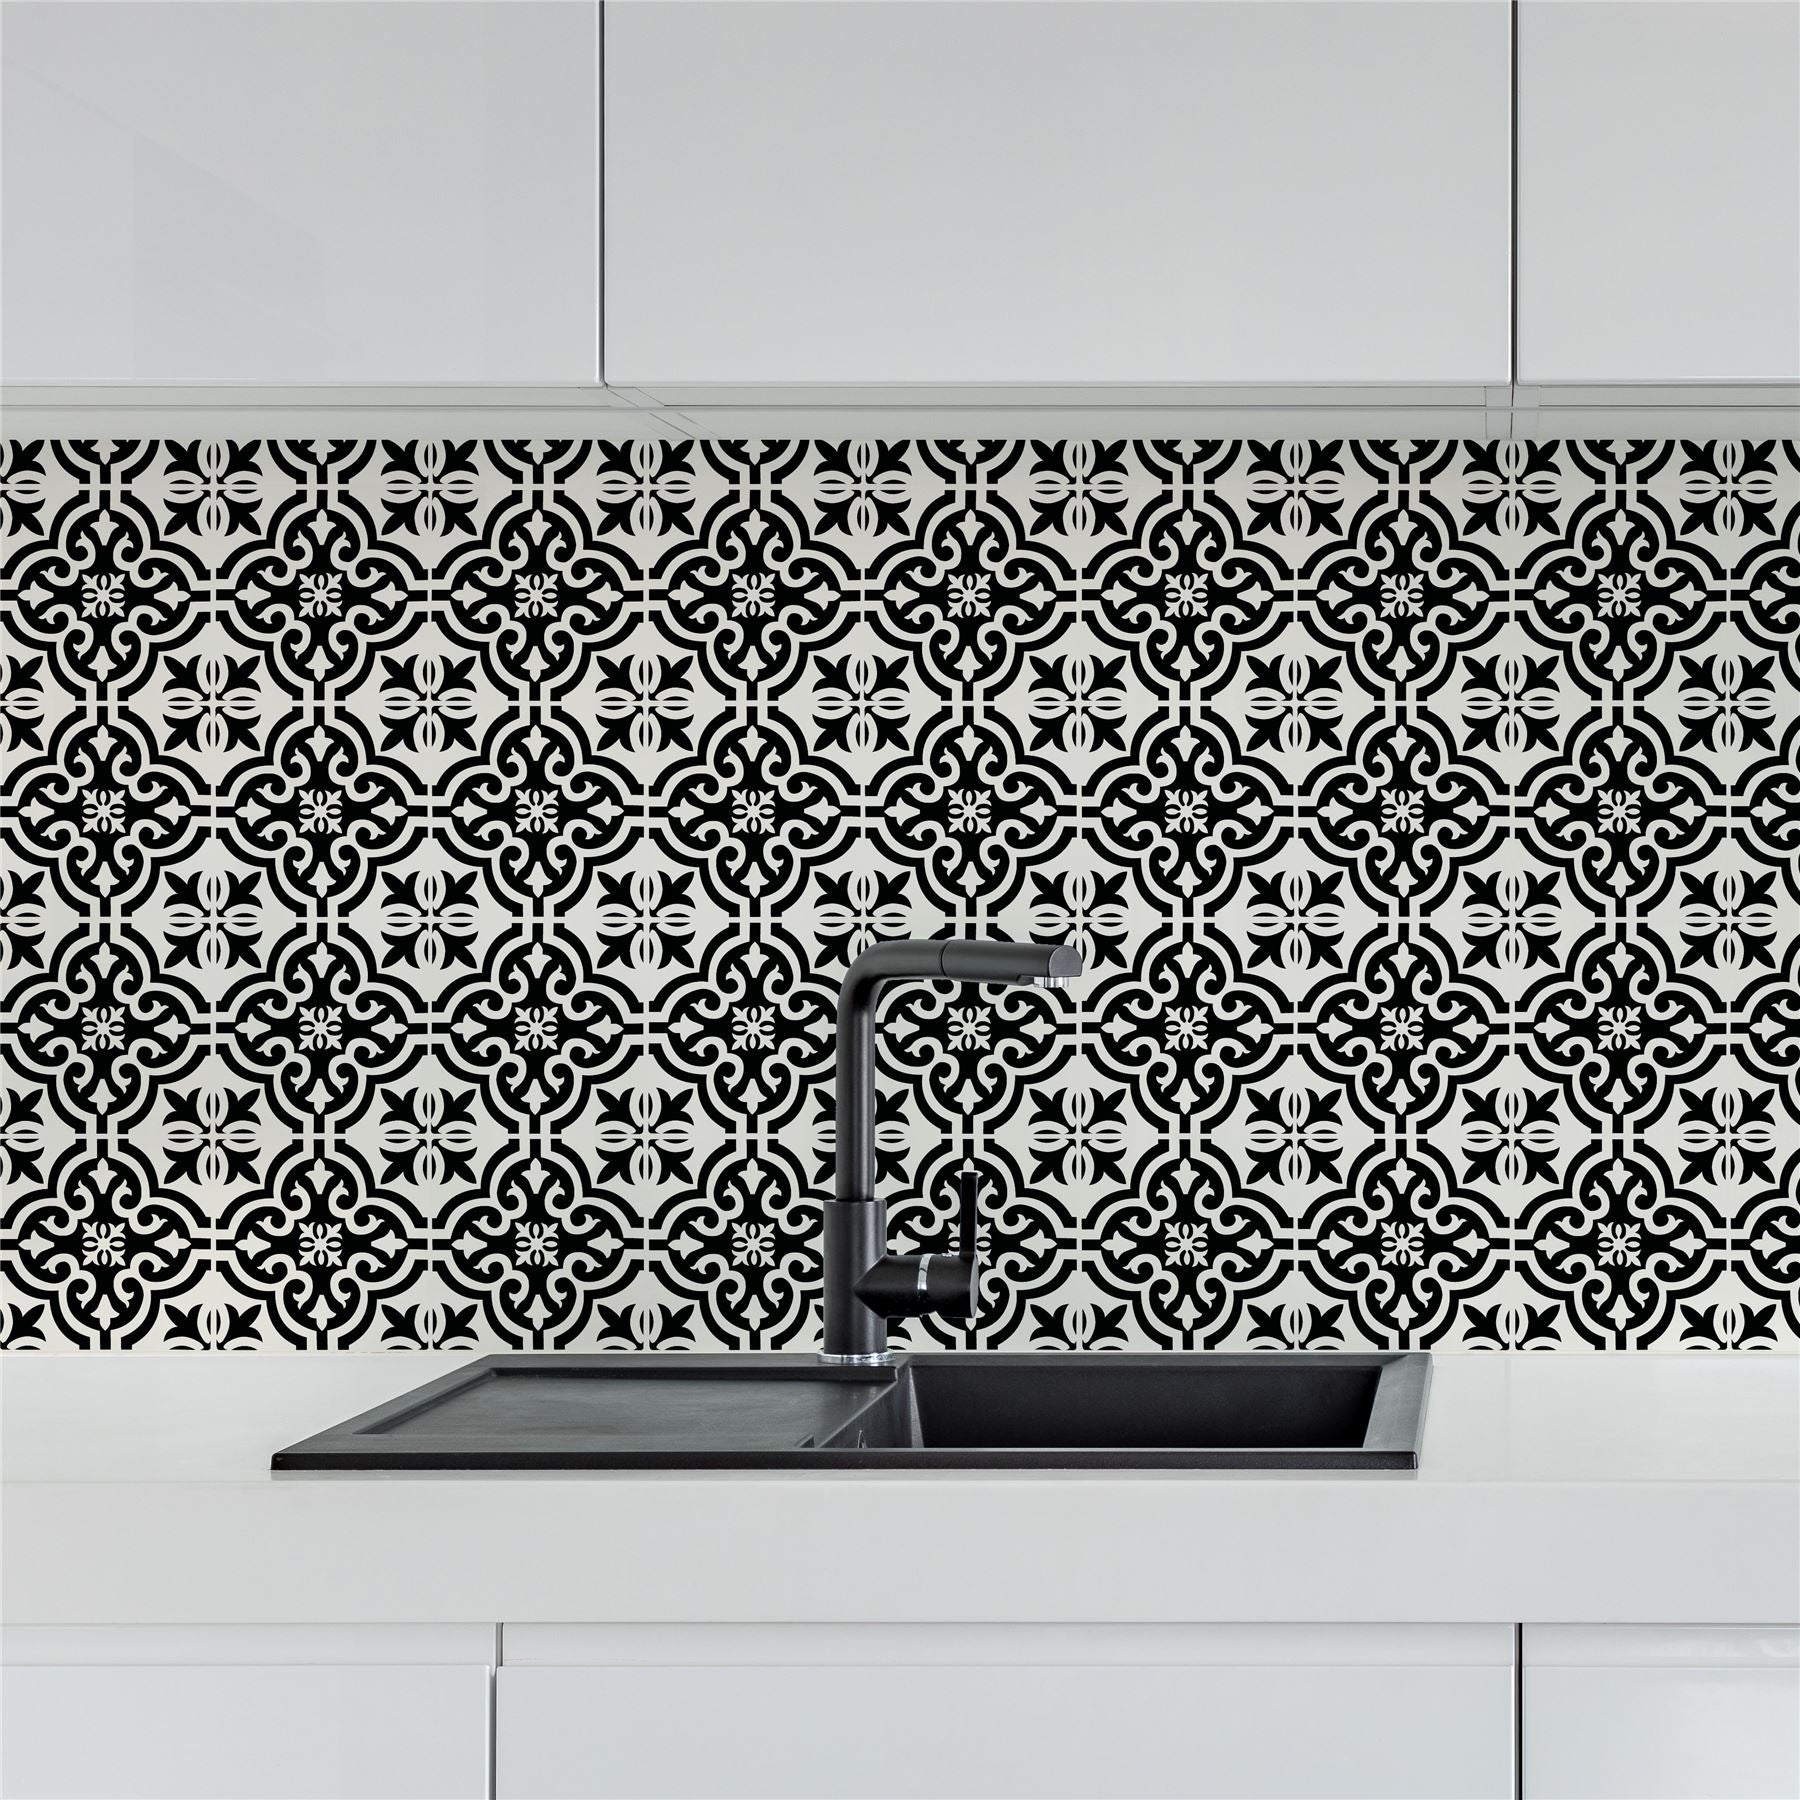
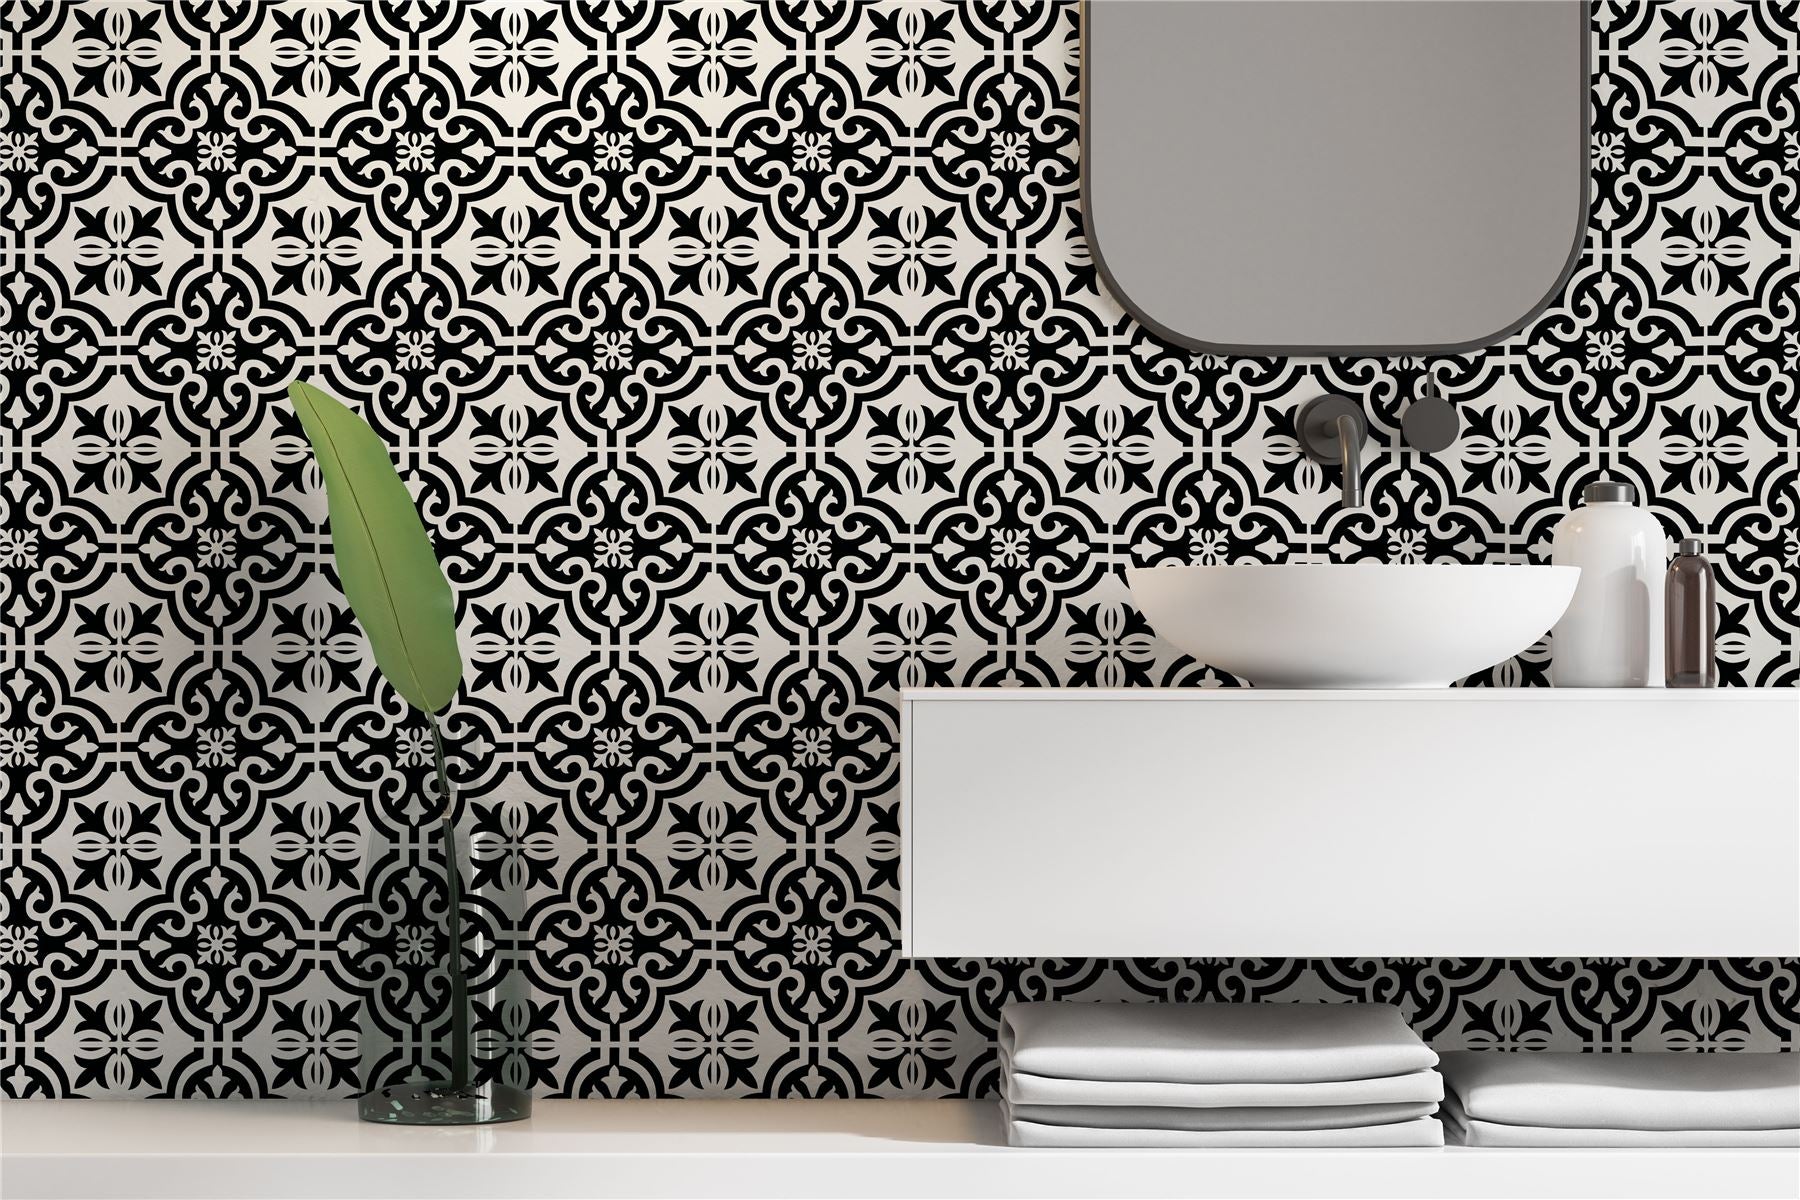
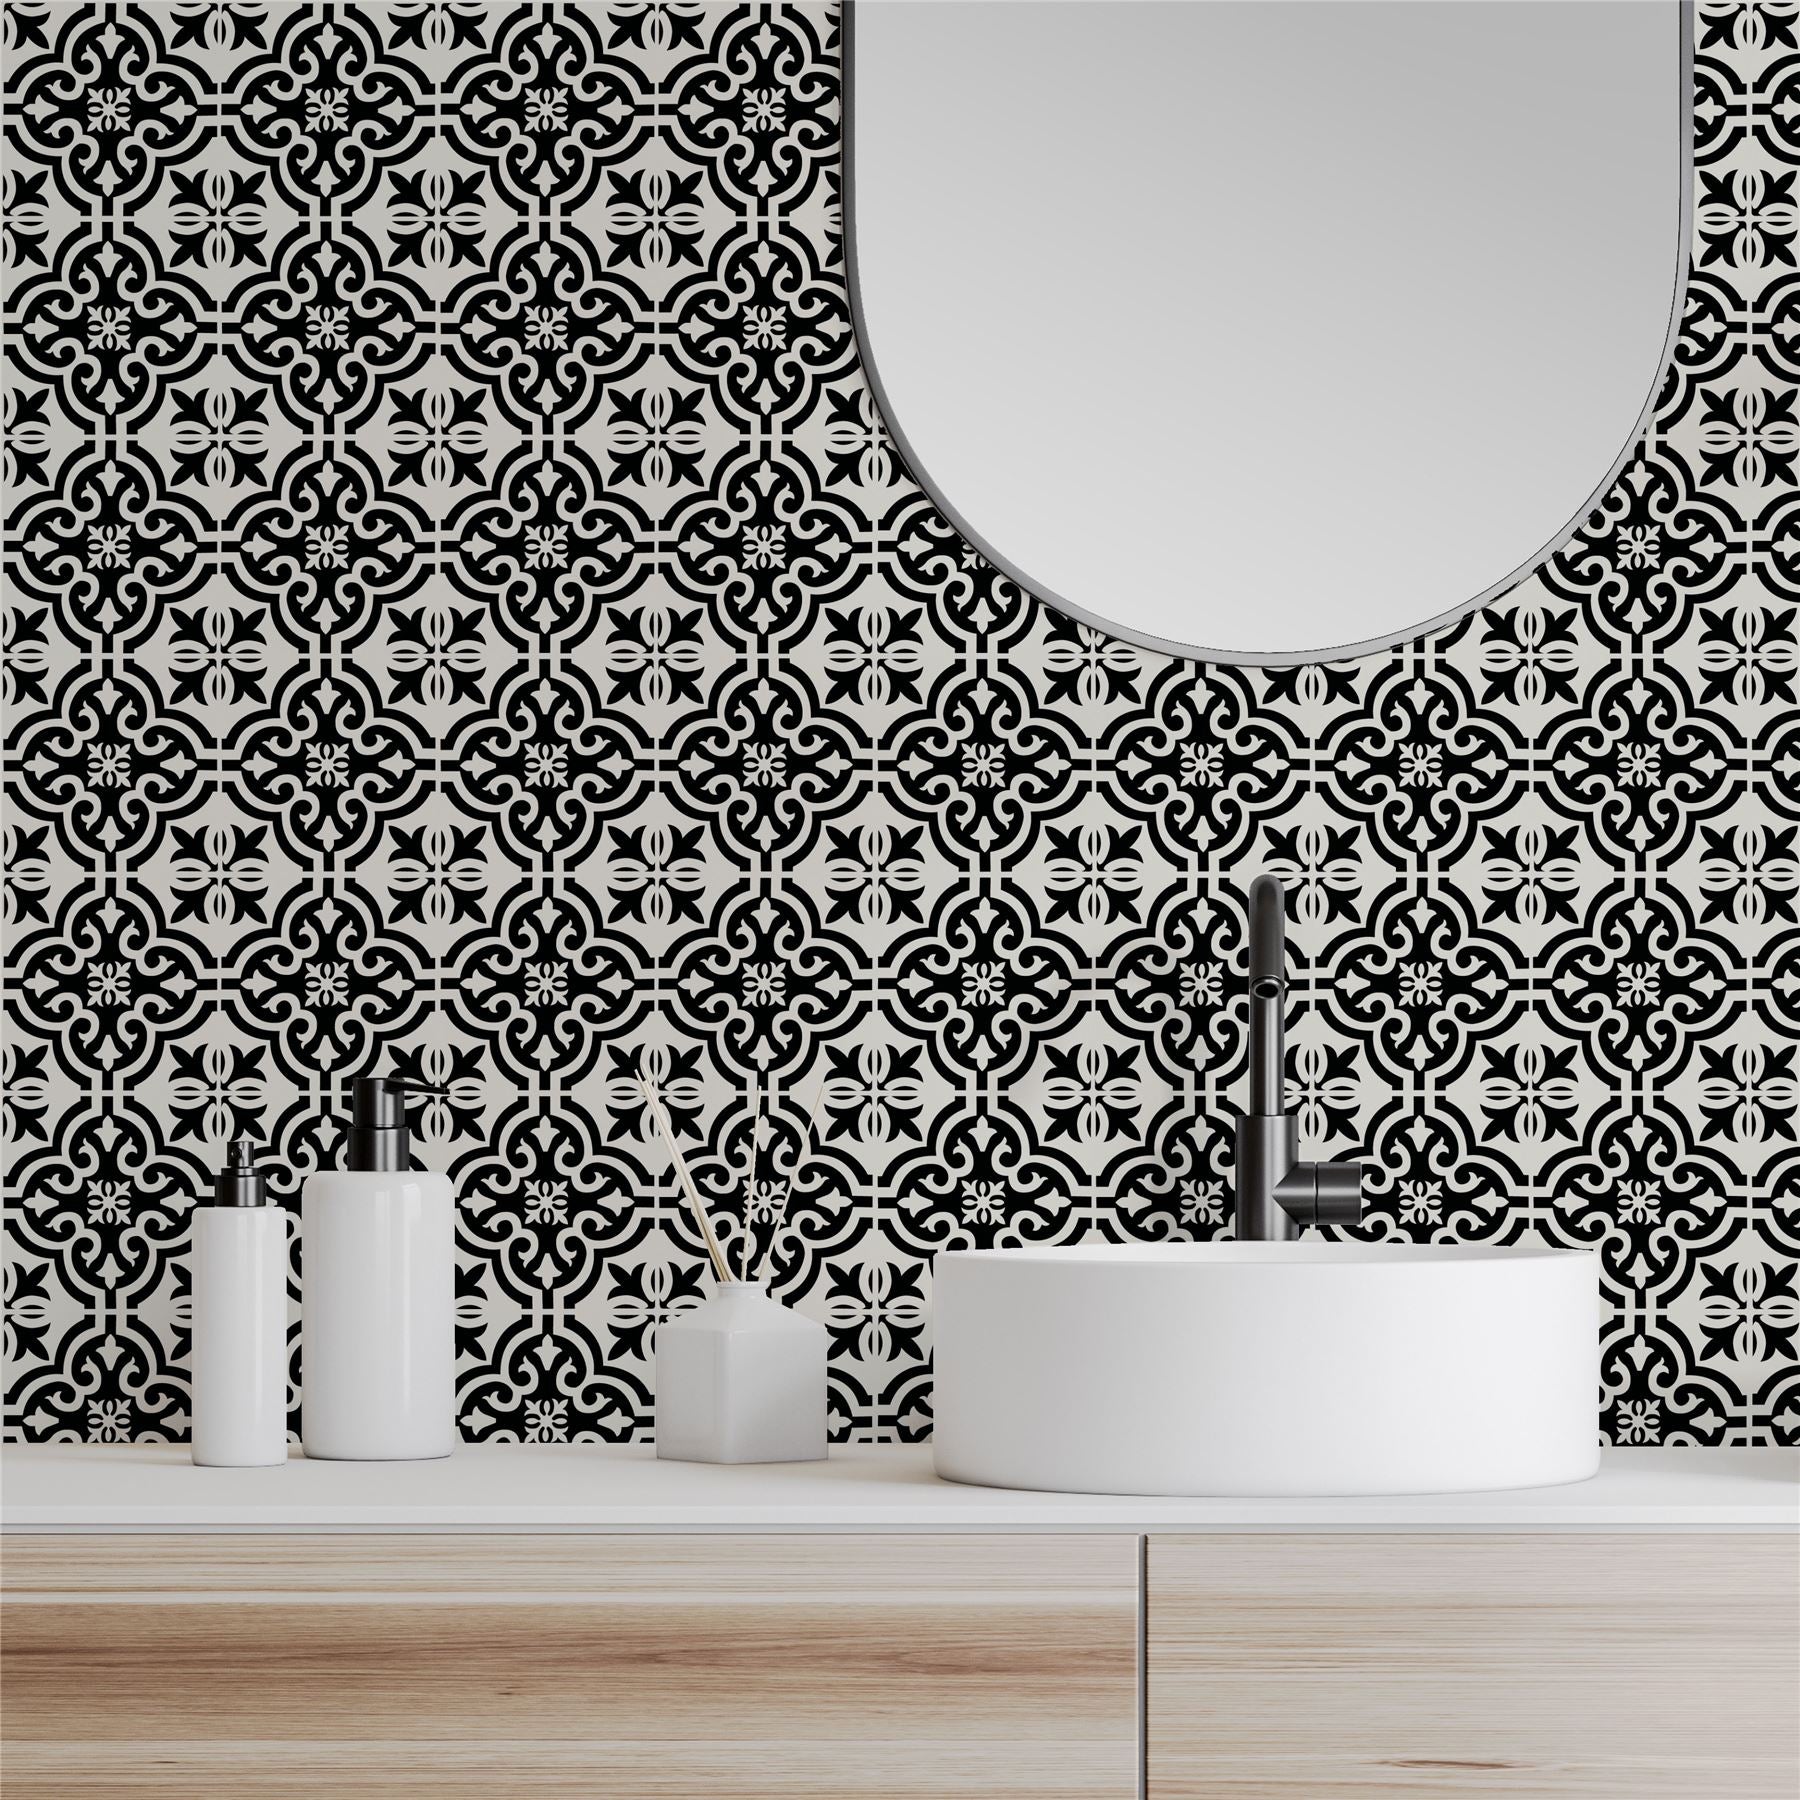
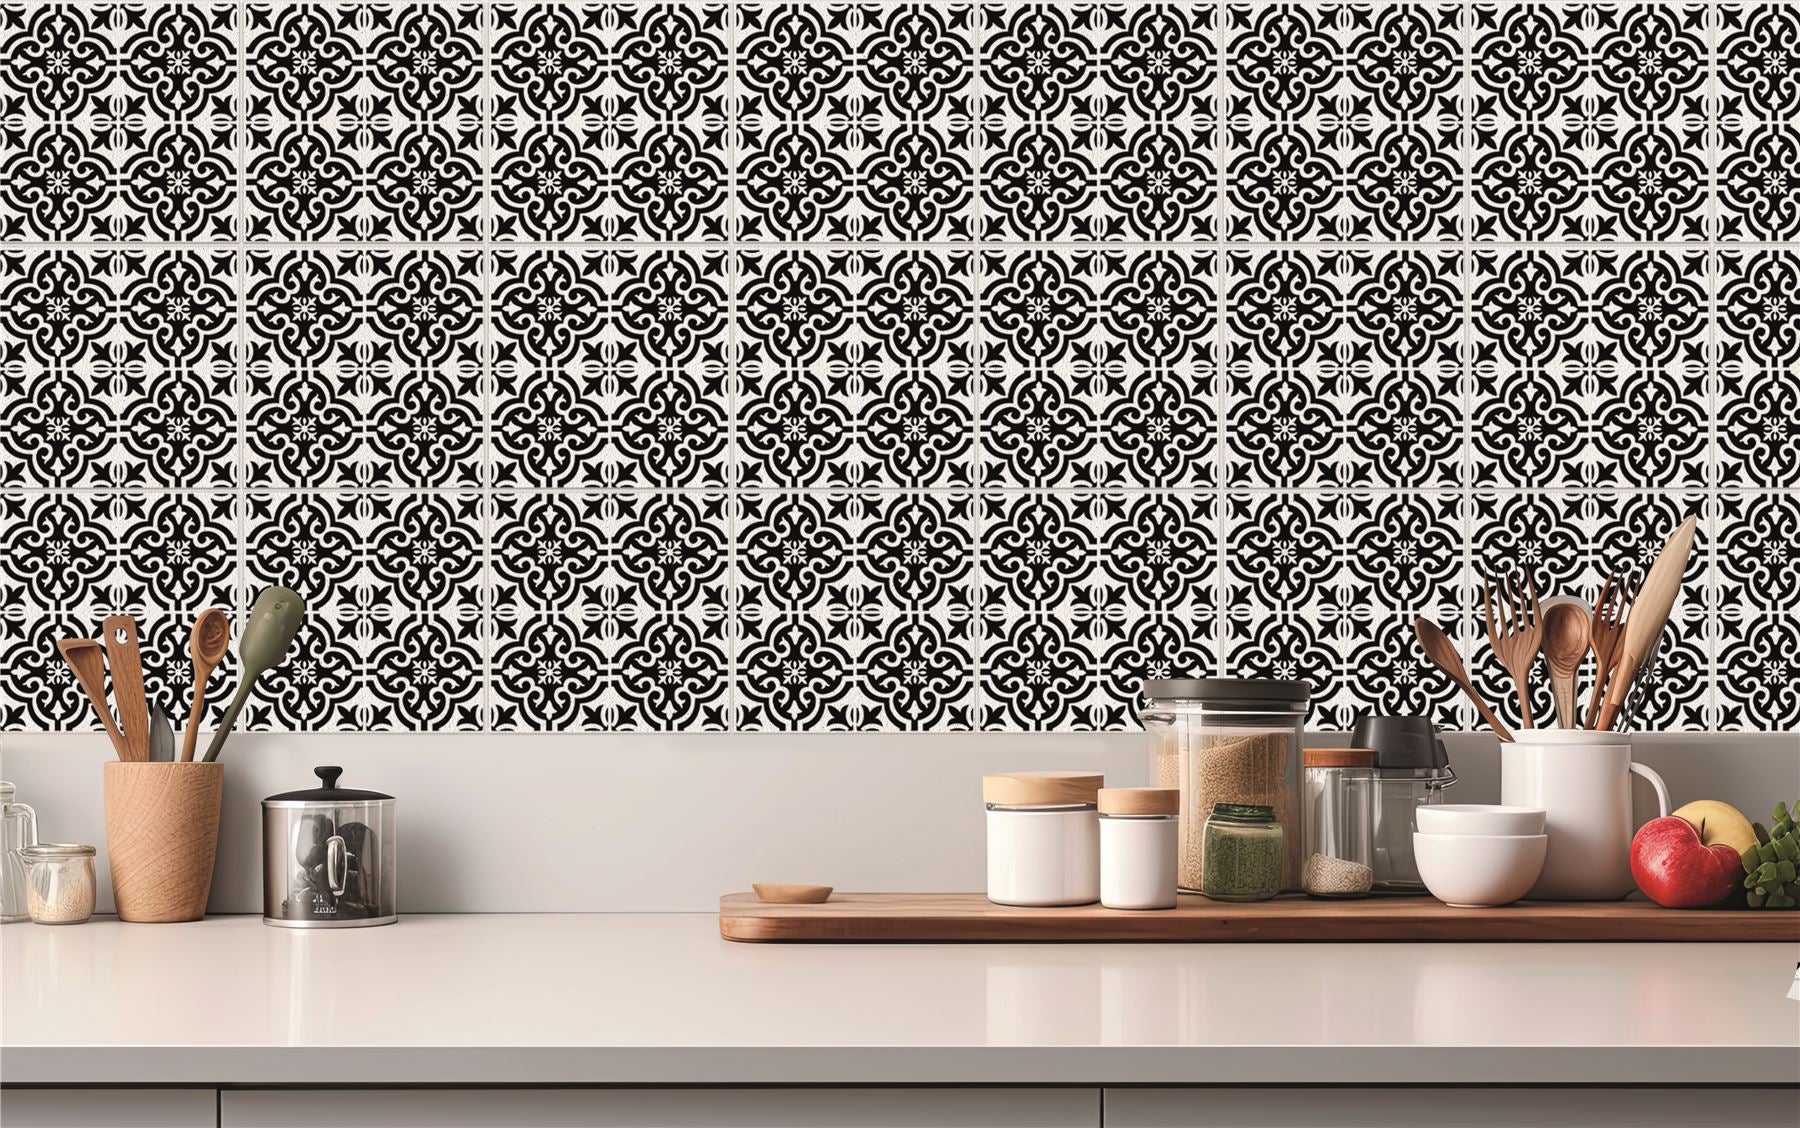
Breathe new life into your bathroom or kitchen with effortless elegance! Artifix Black Motif Self-Adhesive Tiles boast a timeless gothic design in stunning black and white. Simply peel, stick, and... Read more
£19.99
£19.99

How to Install Self-Adhesive Tiles

STEP 1: PREPARE TILES AND CLEAN SURFACE

  • Lay tile package flat and allow 48 hours to acclimate to room temperature of at least 65°F (18°C).
  • Be sure the surface is clean, smooth, flat and dry before applying. Area must be free of grease, dirt, wax, uv coating, and other oils.
  • Inspect tiles to ensure tiles are free of defects.
If installing over concrete or wood: A latex primer is necessary for a secure application. Not intended for outdoor locations such as sunrooms, porches, and garages.
  • DO NOT Apply to loose or uneven flooring.
  • DO NOT Apply over radiant heated floors.
  • DO NOT Apply over concrete with excessive moisture or alkalinity.
  • DO NOT Apply where the temperature regularly falls below 55°F or over 85°F.
  • DO NOT Apply to heavily textured flooring.

STEP 2: FIND THE CENTER OF YOUR ROOM

  • Mark perpendicular guidelines to find the center of the room. Using a chalk line is a preferred tool for this step.

STEP 3: LAY OUT TILES

  • Leaving the back liner on, lay tiles out from the center of the room to the walls.
  • After laying out tiles, assess the outer edges and decide if you need to shift all tiles over to avoid trimming thin tile pieces.

STEP 4: REMOVE BACKING AND APPLY TILES TO FLOOR

  • Starting from the center of the room, remove backing from your first tile and press firmly into place.
  • Avoid touching adhesive dust, dirt and oils will affect its strength.
  • Rotate next tile to find pattern match, and install tightly against the side of the first tile.
  • Working on one quarter of the room at a time, apply tiles in a step pattern.
  • Note: You may find a slight variation in design match from tile to tile. This variation should not affect the overall look of your floor. Be sure to rotate tiles for best look.

INSTALLATION TIPS

  • If necessary, use a straight edge and utility knife to trim tiles to fit, when you reach the edge of your walls.
  • Use a tile roller over the entire floor to strengthen the bond between the tile and floor. A 75-100KG roller is recommended.
  • It is also recommended that baseboards are lifted and reinstalled over the new tiles to allow room for expansion. If tiles are laid snug against the wall, the pressure caused by expansion can cause them to lift.

CLEANING YOUR TILES

DO:
  • Allow 5 days to clean tiles after application.
  • Use a vinyl floor cleaner.
  • Sweep, mop, vacuum, and/or dust as desired.
DO NOT:
  • Clean with detergents, soaps, harsh chemicals, bleach, one-step cleaners, wax, or an excessive amount of water.

Pay in 3 interest-free payments on orders over £35.00 with Klarna

18+, T&C apply, Credit subject to status.

CompareAsk a question Share

Guarantee safe and secure checkout

  • Estimated delivery: Oct 03 - Oct 07

Returns available
Returns available Not right for you? Simply return for a full refund
Free shipping
Free shipping Standard shipping on orders over £50+*
Easy peel and stick
Easy peel & stick No adhesive, no mess — fits in minutes, removes cleanly
Water resistant
Water resistant Splash-proof surface — perfect for kitchens & bathrooms

Product Information

Width 30.5 cm
Thickness 1 mm
Wall Tile Motif 30.5x30.5cm Black (5 Tiles Per Pack)
£19.99
£19.99
Wall Tile Motif 30.5x30.5cm Black (5 Tiles Per Pack)

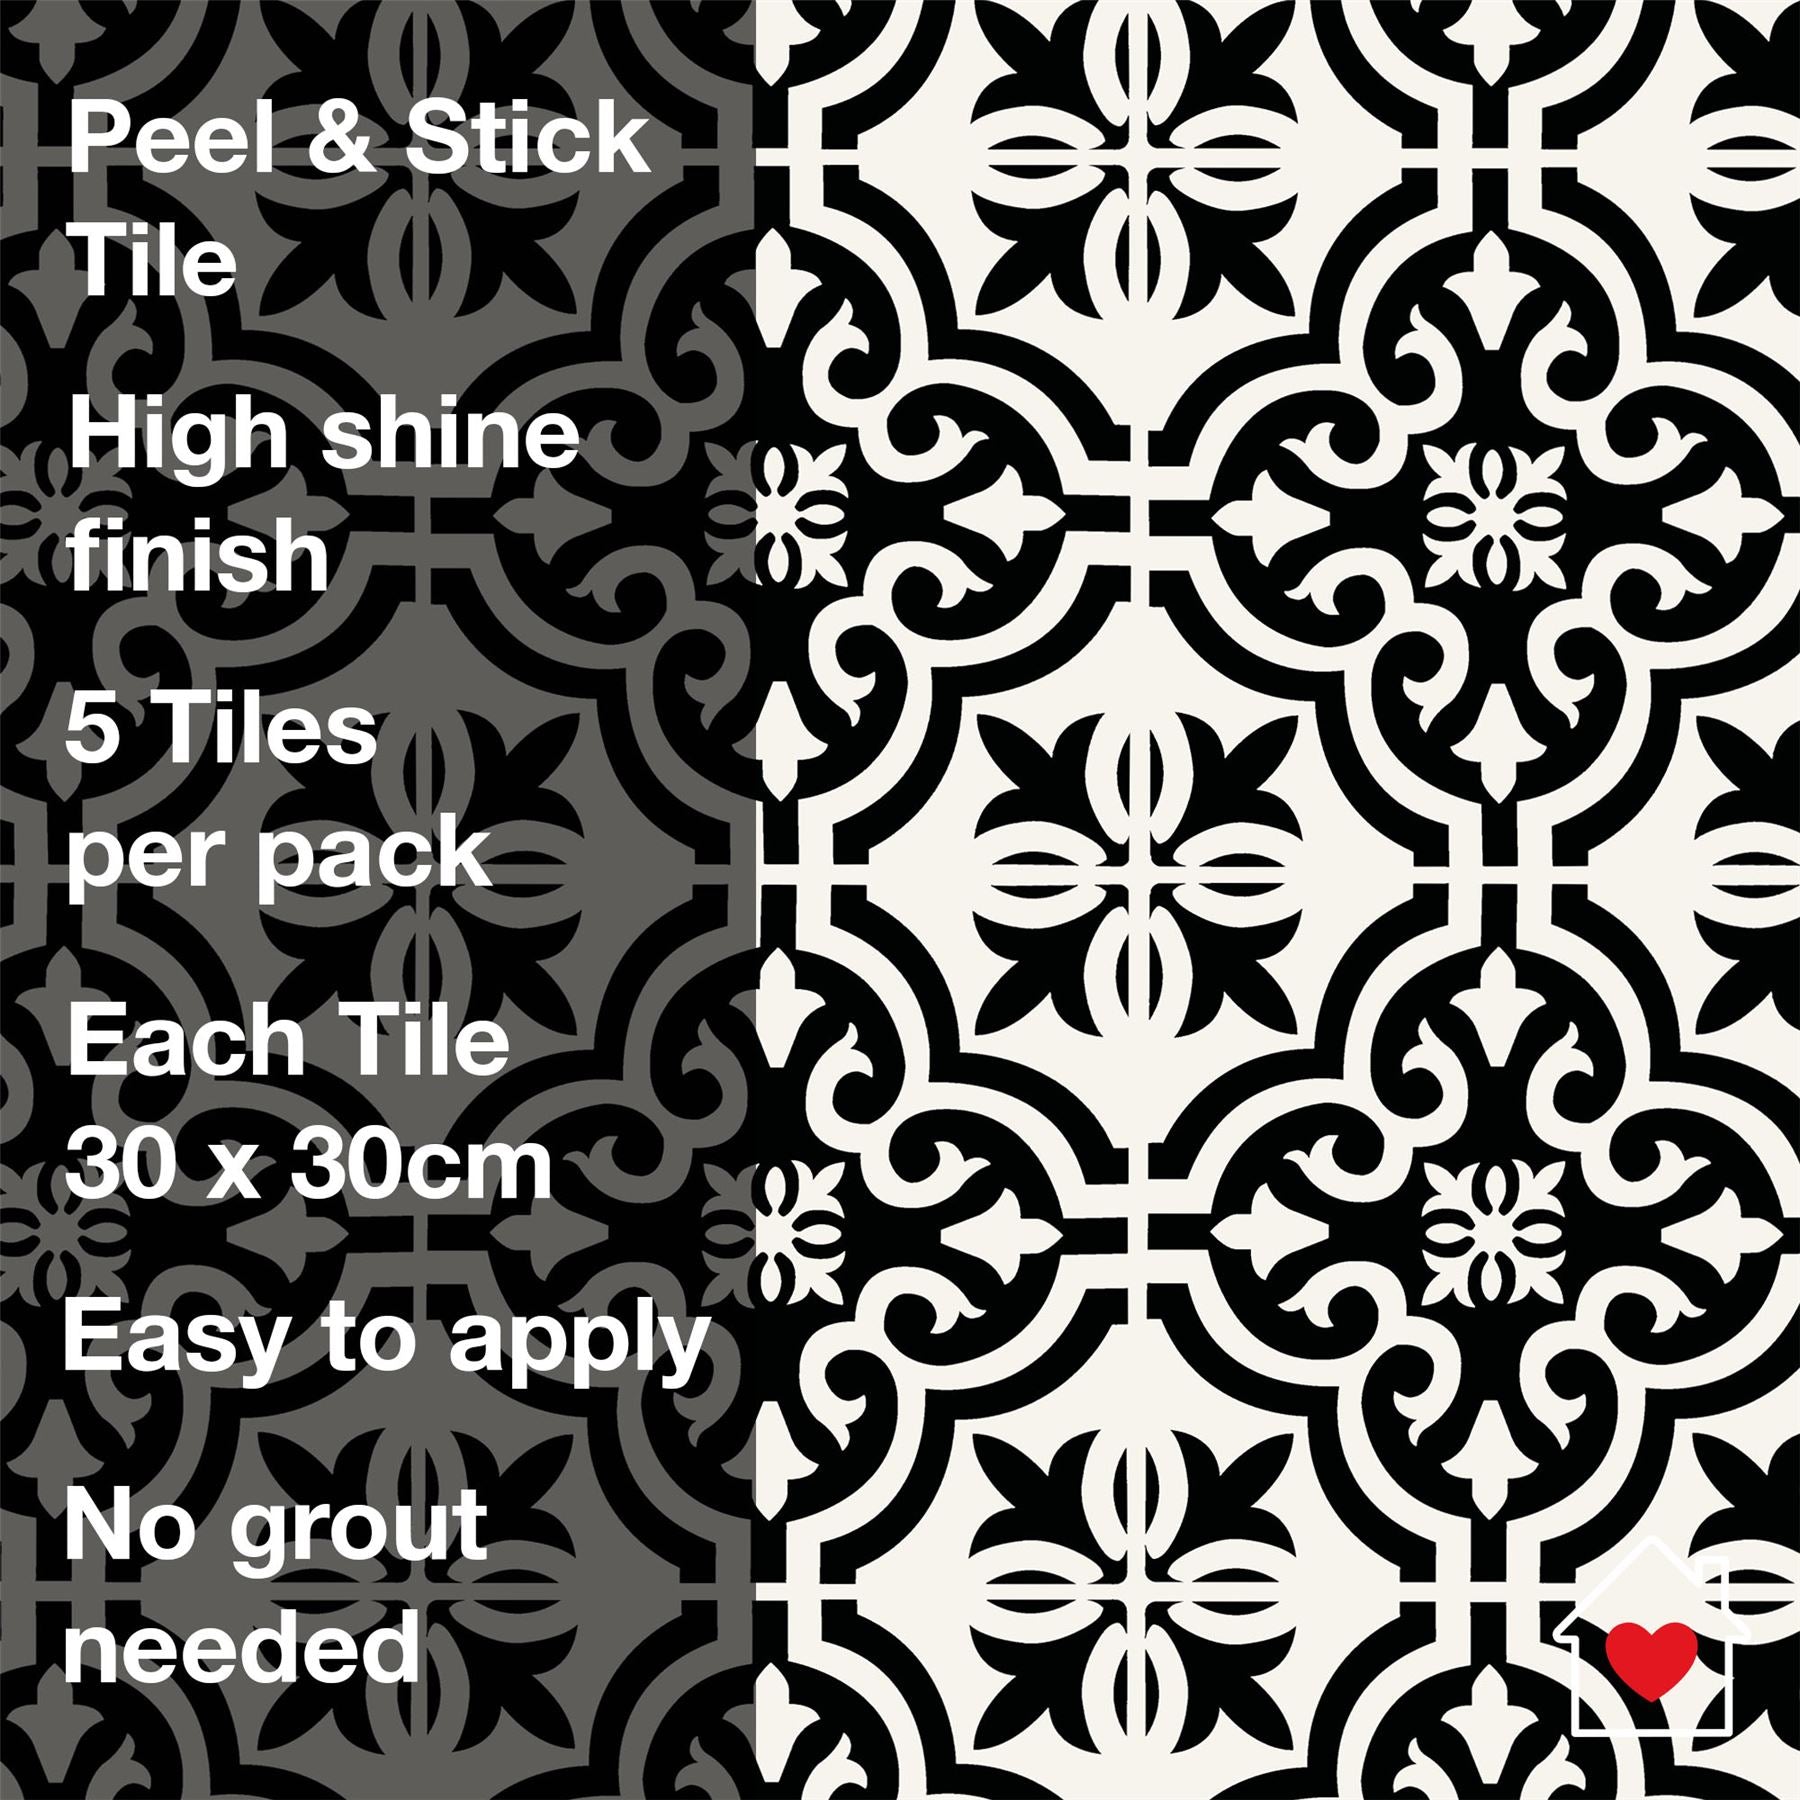
Breathe new life into your bathroom or kitchen with effortless elegance! Artifix Black Motif Self-Adhesive Tiles boast a timeless gothic design in stunning black and white. Simply peel, stick, and enjoy the instant transformation. These versatile 30cm x 30cm tiles adhere to most surfaces, making them perfect for revamping walls, furniture, and more. Upgrade your space today!

Additional Information
NameWall Tile Motif 30.5x30.5cm Black (5 Tiles Per Pack)
SKU006039
VendorEsselle Retail Limited
Pack Contents 5 wall tiles
Colour ["None"]
Composition PU+PET
Unit Height 30.5 cm
Unit Width 30.5 cm
Unit Depth 30.5
Care Instructions

How to Install Self-Adhesive Tiles

STEP 1: PREPARE TILES AND CLEAN SURFACE

  • Lay tile package flat and allow 48 hours to acclimate to room temperature of at least 65°F (18°C).
  • Be sure the surface is clean, smooth, flat and dry before applying. Area must be free of grease, dirt, wax, uv coating, and other oils.
  • Inspect tiles to ensure tiles are free of defects.
If installing over concrete or wood: A latex primer is necessary for a secure application. Not intended for outdoor locations such as sunrooms, porches, and garages.
  • DO NOT Apply to loose or uneven flooring.
  • DO NOT Apply over radiant heated floors.
  • DO NOT Apply over concrete with excessive moisture or alkalinity.
  • DO NOT Apply where the temperature regularly falls below 55°F or over 85°F.
  • DO NOT Apply to heavily textured flooring.

STEP 2: FIND THE CENTER OF YOUR ROOM

  • Mark perpendicular guidelines to find the center of the room. Using a chalk line is a preferred tool for this step.

STEP 3: LAY OUT TILES

  • Leaving the back liner on, lay tiles out from the center of the room to the walls.
  • After laying out tiles, assess the outer edges and decide if you need to shift all tiles over to avoid trimming thin tile pieces.

STEP 4: REMOVE BACKING AND APPLY TILES TO FLOOR

  • Starting from the center of the room, remove backing from your first tile and press firmly into place.
  • Avoid touching adhesive dust, dirt and oils will affect its strength.
  • Rotate next tile to find pattern match, and install tightly against the side of the first tile.
  • Working on one quarter of the room at a time, apply tiles in a step pattern.
  • Note: You may find a slight variation in design match from tile to tile. This variation should not affect the overall look of your floor. Be sure to rotate tiles for best look.

INSTALLATION TIPS

  • If necessary, use a straight edge and utility knife to trim tiles to fit, when you reach the edge of your walls.
  • Use a tile roller over the entire floor to strengthen the bond between the tile and floor. A 75-100KG roller is recommended.
  • It is also recommended that baseboards are lifted and reinstalled over the new tiles to allow room for expansion. If tiles are laid snug against the wall, the pressure caused by expansion can cause them to lift.

CLEANING YOUR TILES

DO:
  • Allow 5 days to clean tiles after application.
  • Use a vinyl floor cleaner.
  • Sweep, mop, vacuum, and/or dust as desired.
DO NOT:
  • Clean with detergents, soaps, harsh chemicals, bleach, one-step cleaners, wax, or an excessive amount of water.
Delivery & Returns
Delivery

Our Wallpaper samples are sent via Evri for £1.95, if your order is received before 2pm we will endeavour to dispatch the same day. Average delivery time for samples is 2-4 working days.

For Wallpaper Rolls, Mats and Peel & Stick Tiles and accessories, we currently only ship to UK addresses on a standard service for £5.99. Orders over £50 qualify for free standard delivery (3-5 working days)

For large items such as rugs we deliver to mainland UK addresses with a delivery charge of £12.99. (3-5 working days)

*Unfortunatly large rugs do not qualify for free delivery

Returns

Thank you for shopping with Esselle Retail. We take pride in the quality of our products and want you to be satisfied with your purchase. However, if you need to return your order, please review our returns policy below.
Return Conditions
  • Eligibility: To be eligible for a return, your item must be unopened in it’s original packaging, and in the same condition that you received it. Any items that have been opened, used, or altered in any way will not be accepted.
  • Return Timeframe: You have 14 days from the date of receipt to initiate a return. After 14 days, we cannot offer a refund or exchange.
  • Return Shipping: Customers are responsible for the cost of return shipping.